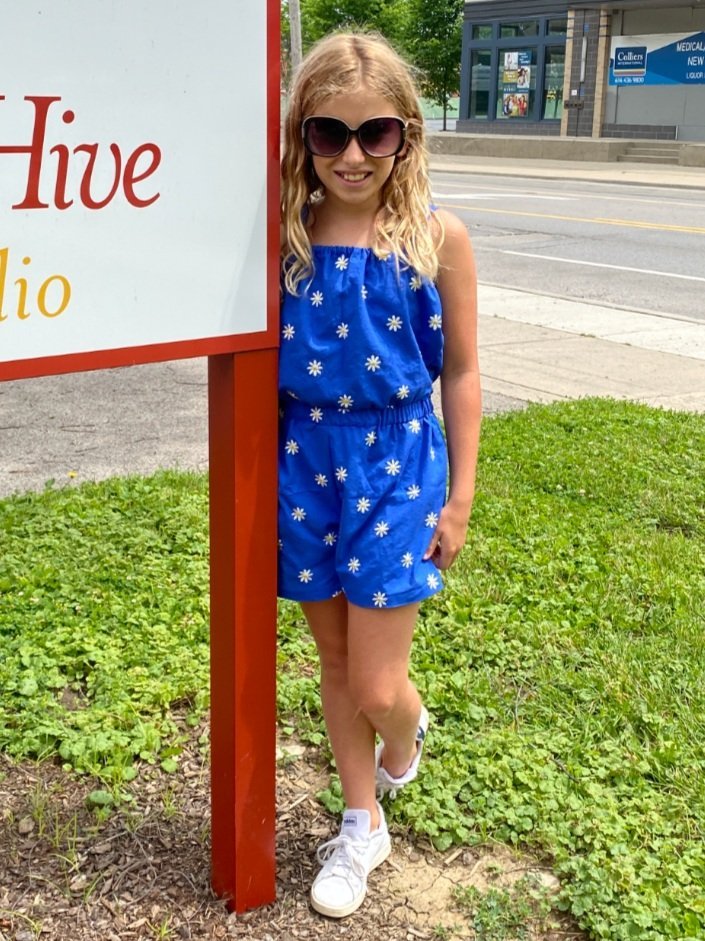
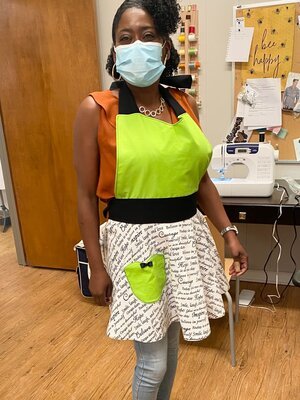
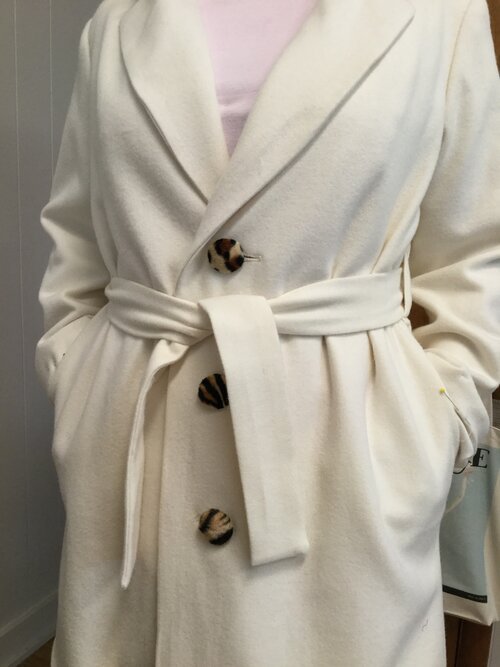
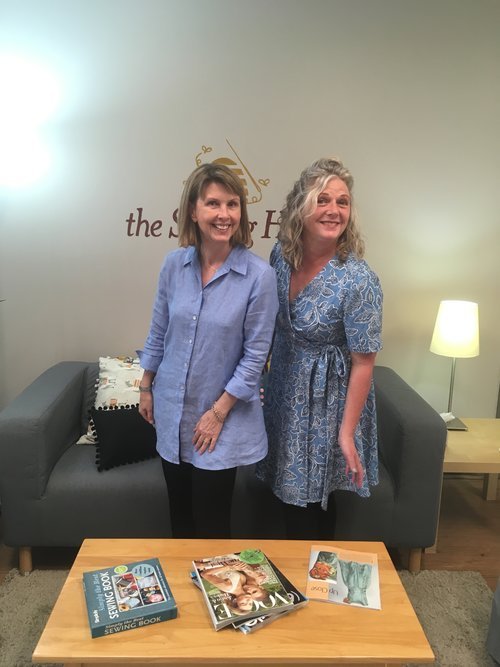
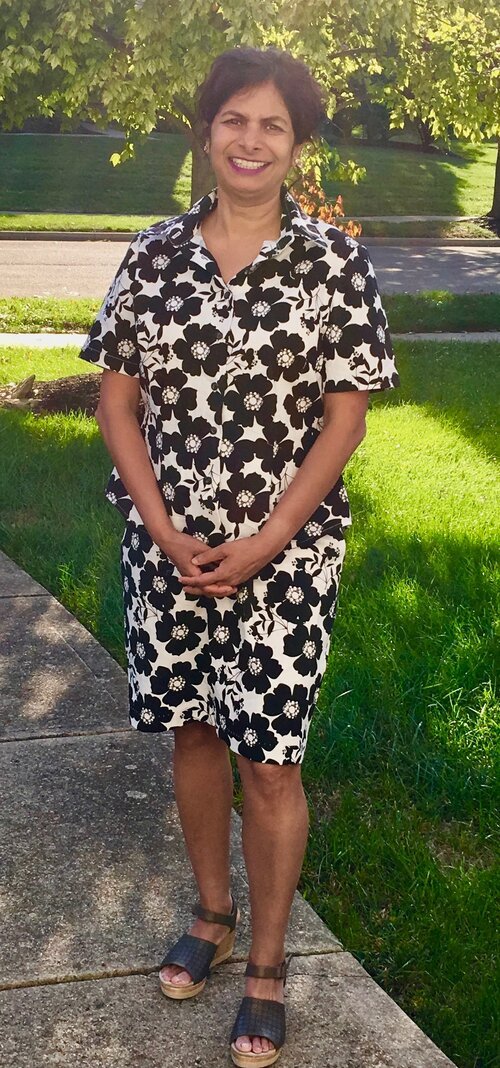
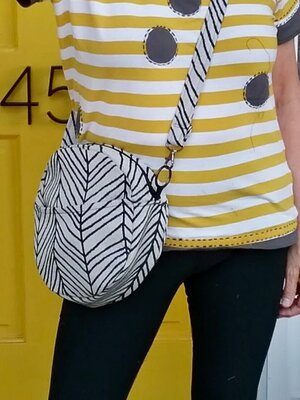
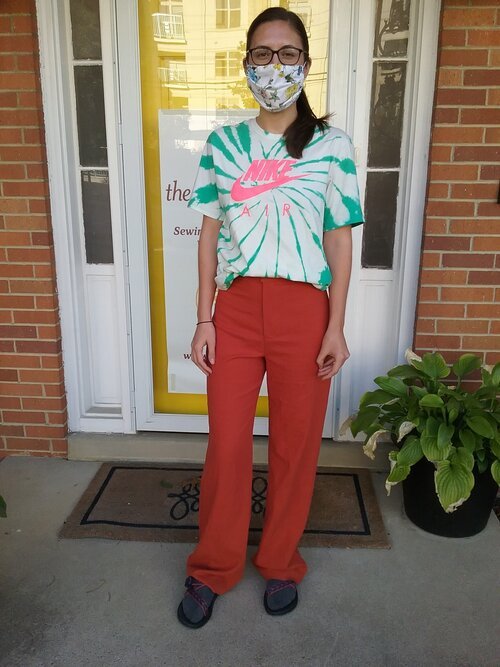
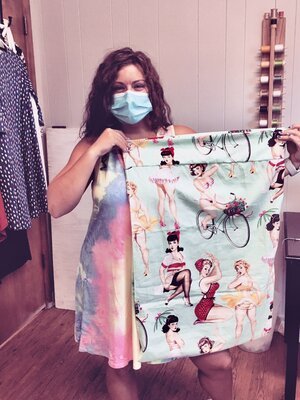
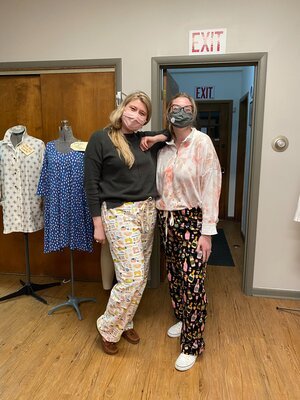
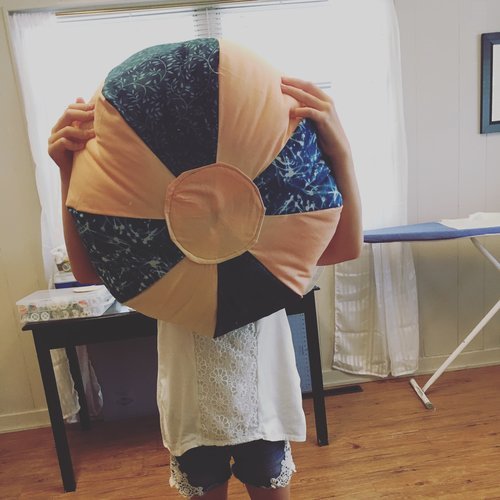
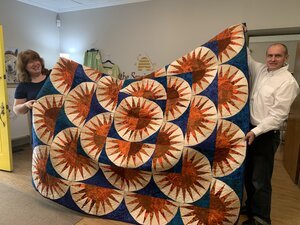
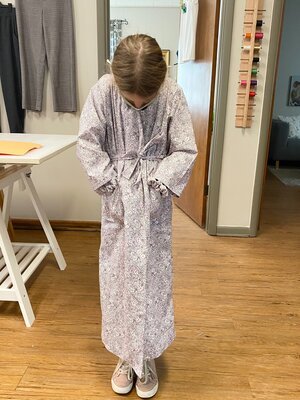
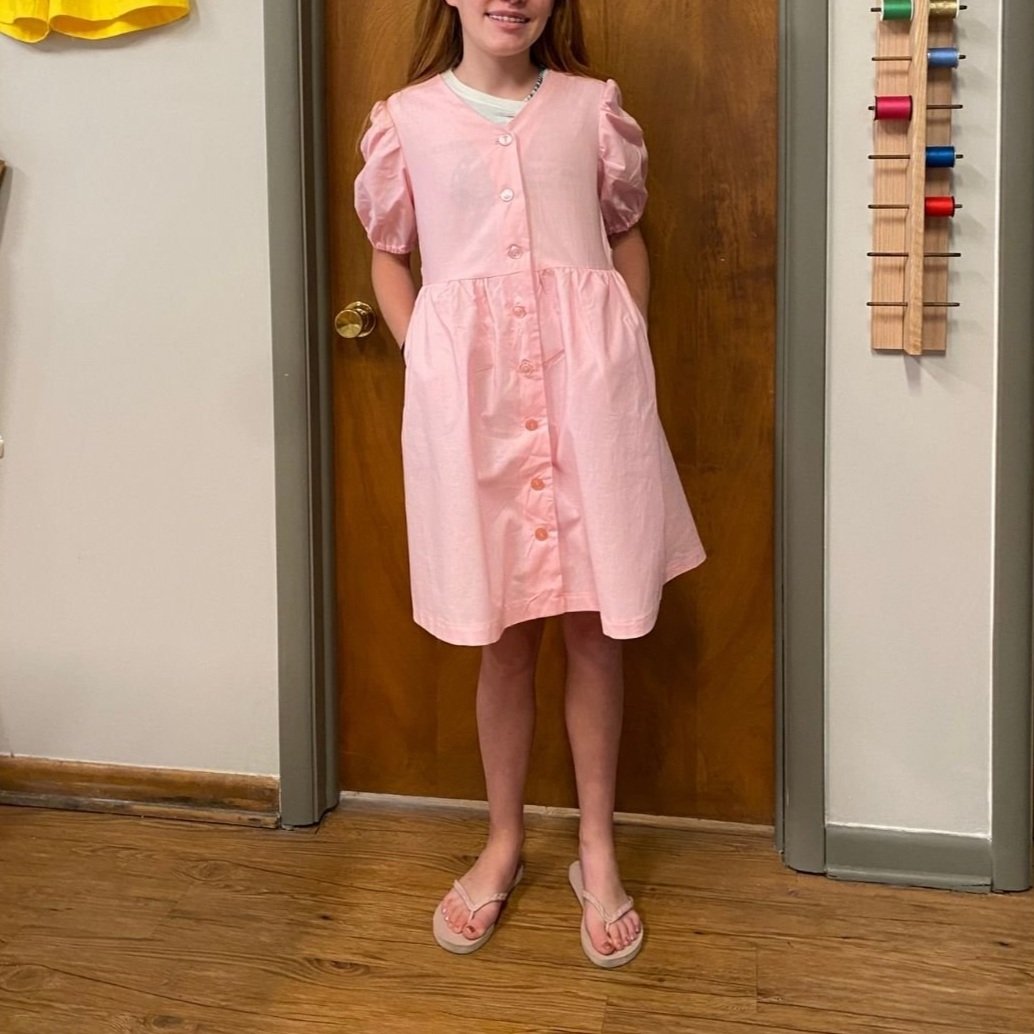
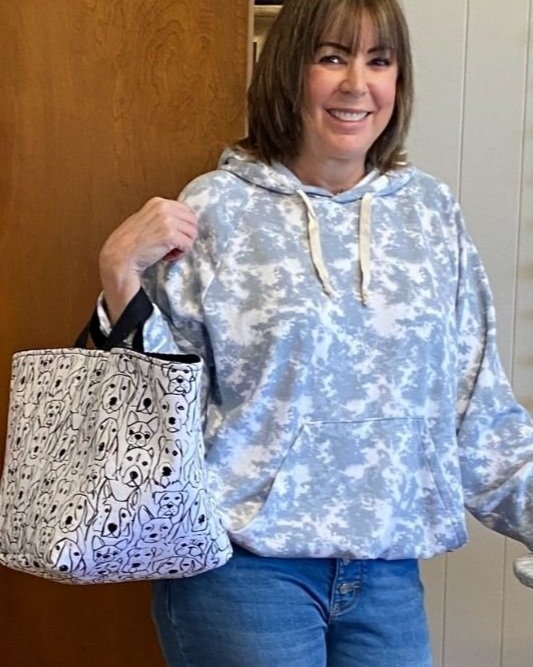
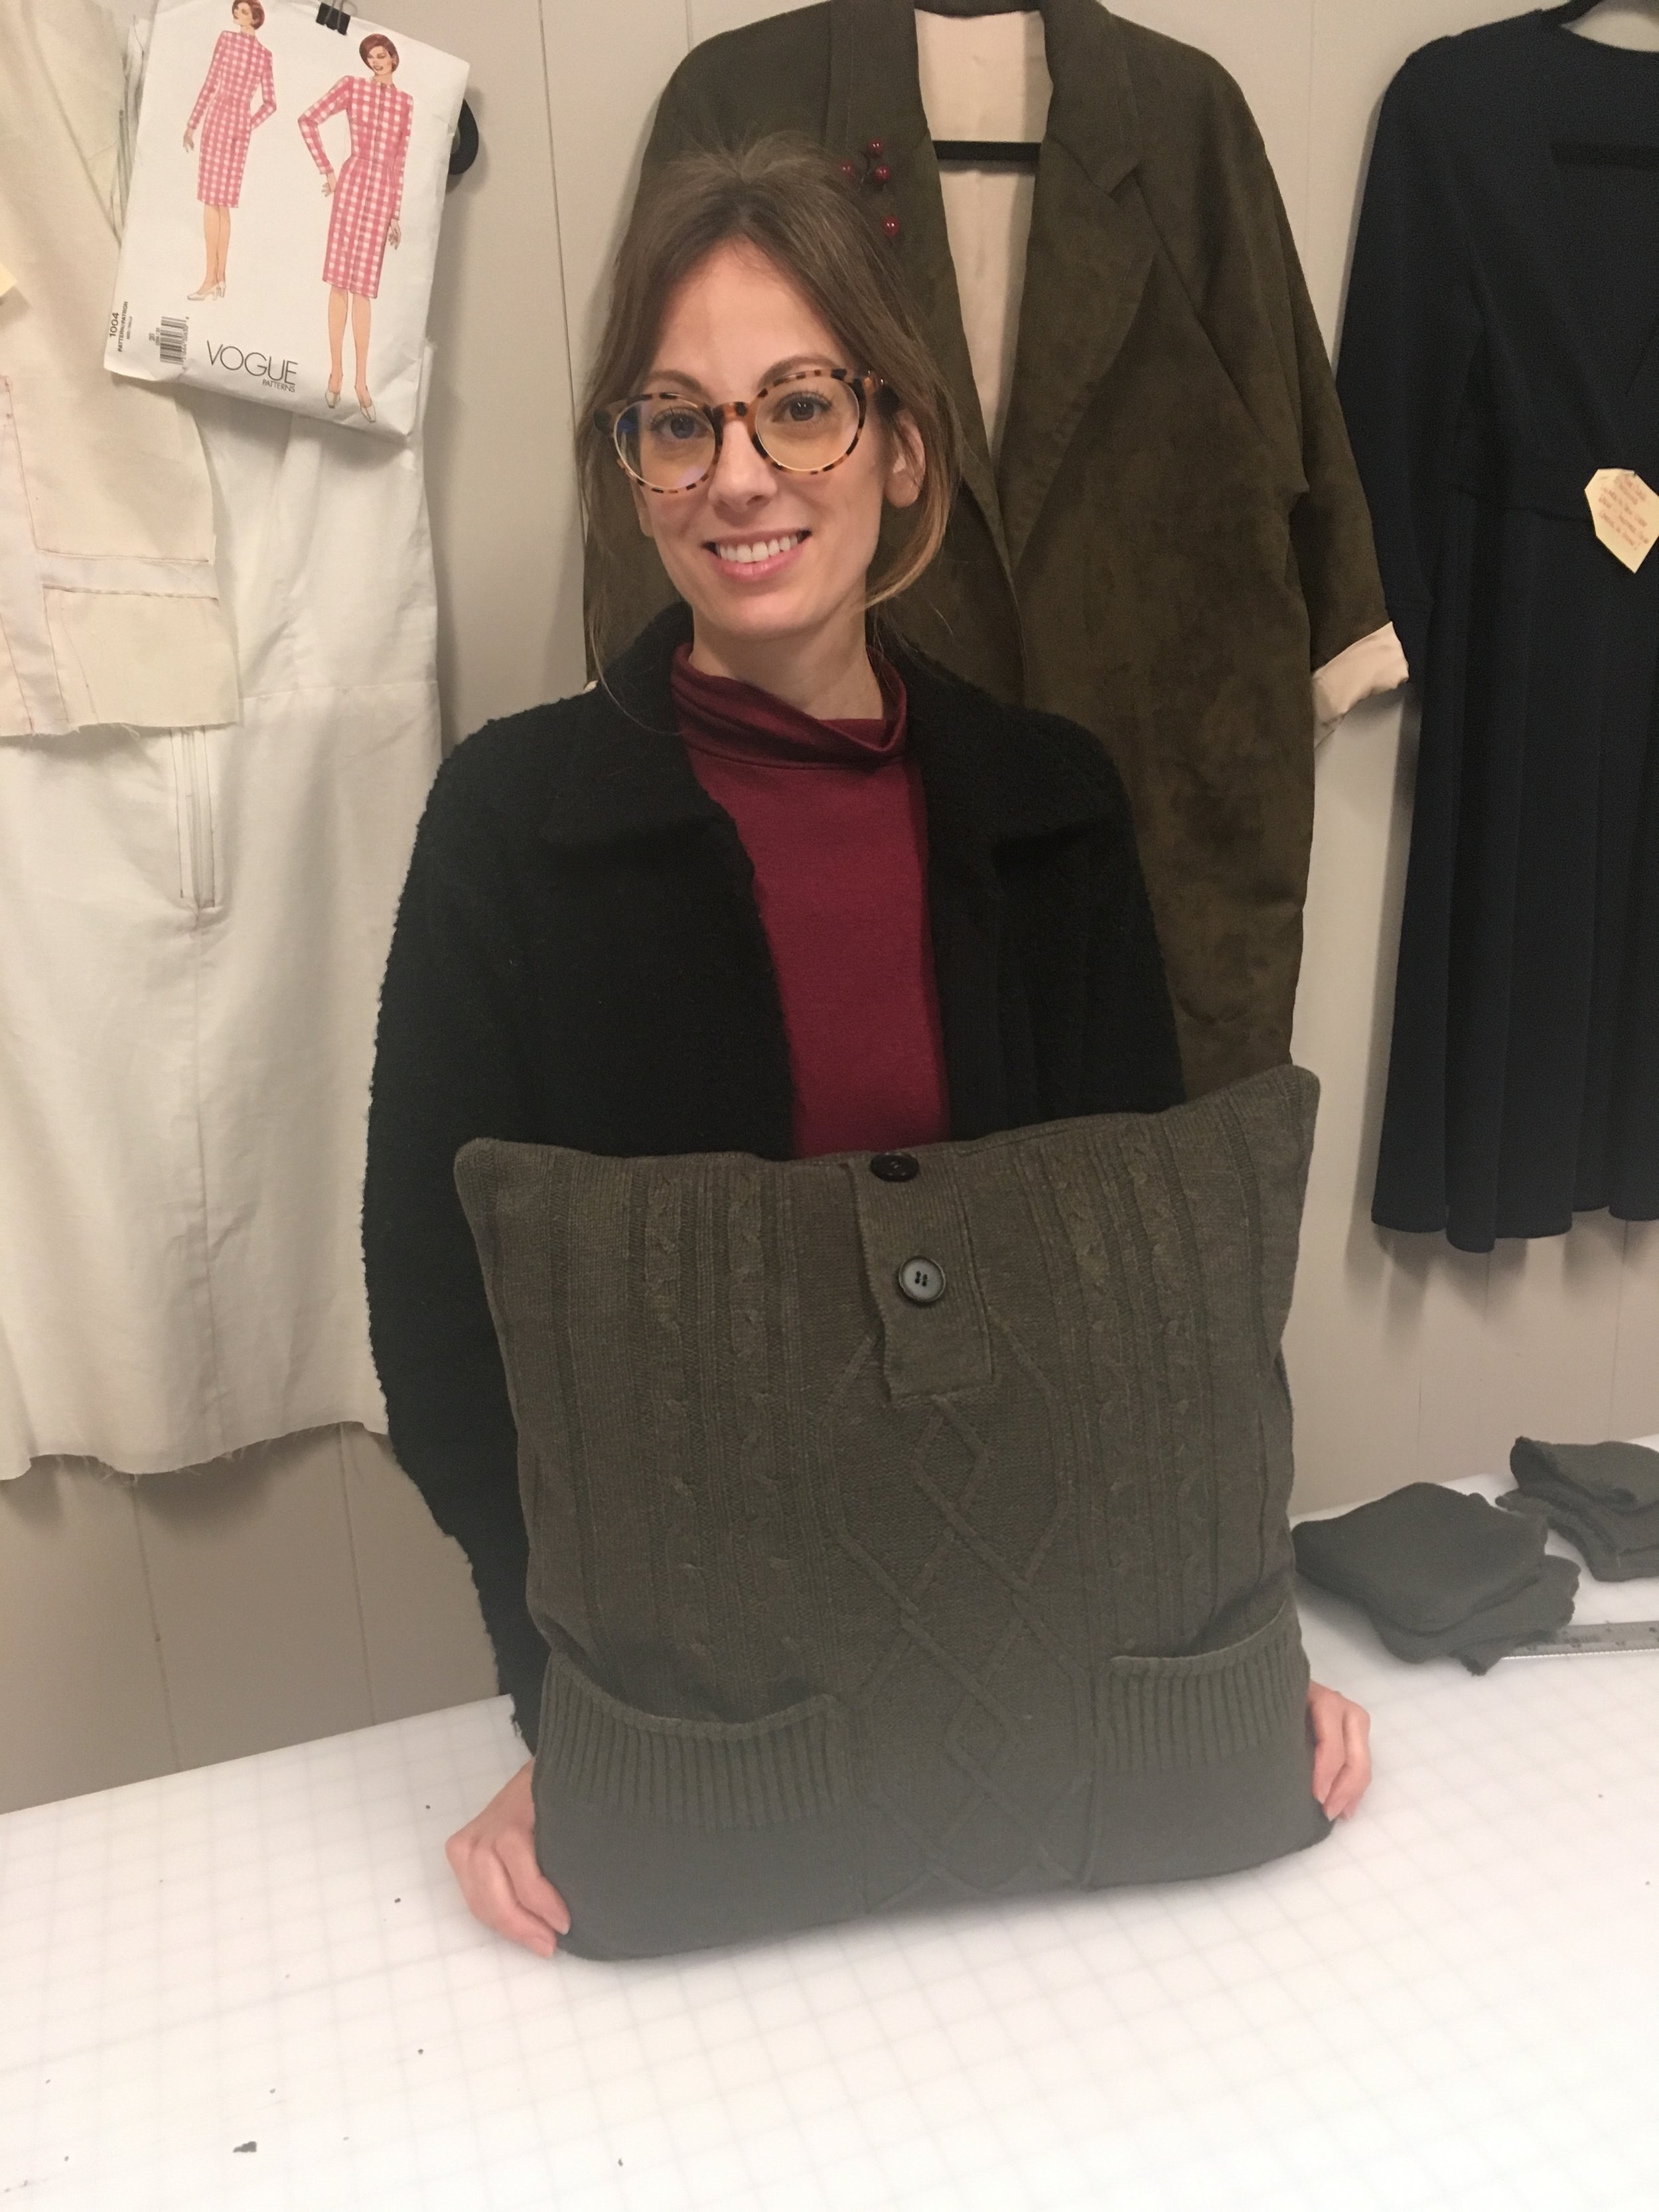
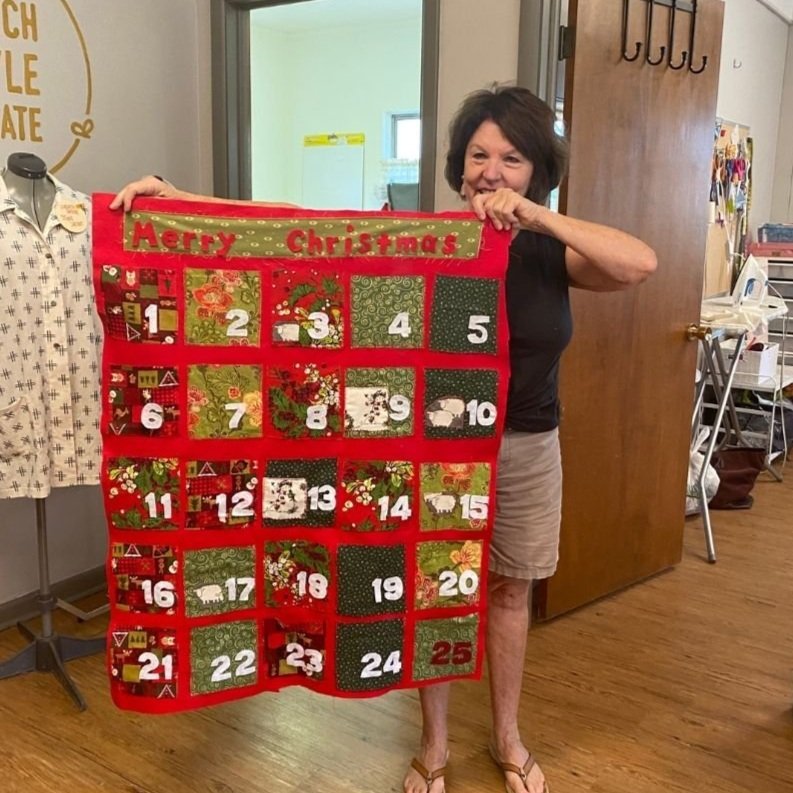
We are so proud of our students and we want to share what they’ve made. Have an image you’re alright with us sharing in this Student Makes album? Send us a photo with a note saying we can share it here.
Student Makes


Your Sewing Journey - What are the classes to become a garment maker?
We get asked this question a lot, so we know there’re many more of you wondering what classes you should take to get started sewing…..and we know we have a lot of classes, so it can be slightly overwhelming!
If you are a beginner (never have sewn, or sewn very little), then we recommend this path:
First : Our Stitch Style Create for Adults, or Children. This is a 5 week class that teaches you the basics of a sewing machine, you make 4 projects, and it ends with an understanding of commercial patterns.
Second: Our Easy Woven Shirt or T-Shirt. This is a one session class and we suggest doing the knit T-shirt so you get a taste of knit fabric sewing.
Third: Our Classic Collared Shirt (Button up Shirt) class. This is a three session class that will really start to enhance your sewing skills. You will learn how to fit a pattern, learn to sew a button placket, buttonholes, a collar, cuffs, seam finishes, and a nice hem. We have suggestions for both men’s and women’s shirt patterns listed.
Fourth: Our Pant Fitting and Technique-classes/pants-fitting-and-sewing-techniques class. This is a two session class in which you will learn the basics of fitting a pant pattern and then move on to sewing a zippered pant.
Think of the above as the Basic Requirements to have a core skill set: then you can branch out to any of our other classes that interest you: we have a ton!
We also decided that we can not know what YOU would like to make, so we offer Adult Skill Building classes where you can pick the garment and we will help you learn how to fit and sew to your style.
We offer classes on pattern fitting and finally creating your own flat sloper ( basic pattern that fits you)
We know this works….we see our students wearing clothes they Stitched, Styled, and Created.
Let’s get sewing!
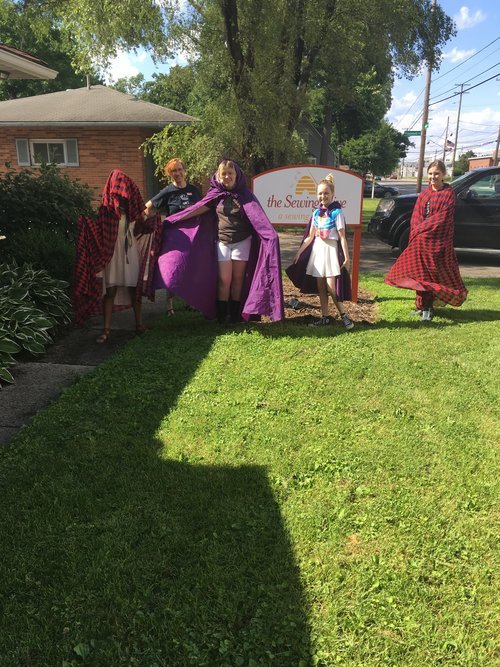
Family Time!

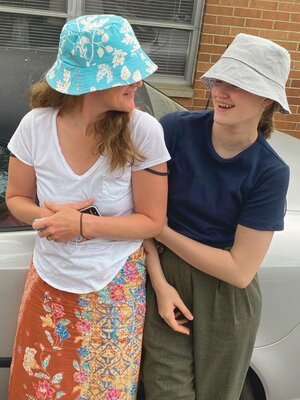
Lately there have been several family duos (and even trios) signing up for sewing classes together. It’s such a nice thing to see! A sewing class is not only about learning a new skill; it can be about family bonding. By learning together, you can strengthen your relationships and build a closeness over a fun shared experience. Your sense of accomplishment in creating something along side someone you love can be a lovely thing to reminisce about down the road. My first sewing memory is with my grandmother. She was so patient and kind with me when I would ask her questions about all of the tools that you need to sew. We did some hand sewing together to repair my teddy bear and I cherish that memory very much.
I recently had a mother and daughter come make some pajama pants together. They enjoyed it so much they decided to take their newfound skill home and make some PJs for the rest of their family. This shared interest then carries over into their home life and they have a whole new topic to discuss and be curious about together.
In another class, there are brothers learning to sew and they decide on projects together. They use the classes as a source of inspiration because their late mother was a sewist. They wanted to honor that by learning to sew themselves.
There have even been grandmothers and grandkids who have wanted to share special time together, so why not make memories through sewing! You can take a painting class together, why not a sewing class? You can spend time with your loved ones, all while enjoying the relaxed atmosphere that the Sewing Hive offers. So if you are thinking of new things to try… bring someone along and learn together. We would be happy to customize your class to your needs.
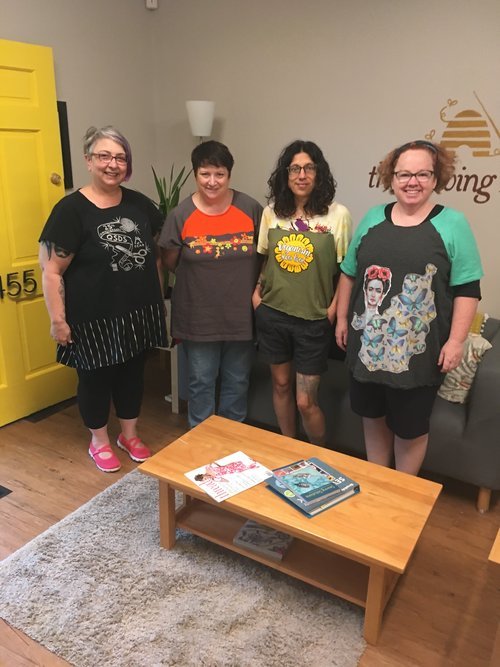
Please contact us at studio@sewinghive.com to schedule a custom class or you can use our website to place an order for a class we offer. We hope to see you soon!
~Michelle Thomas, Sewing Instructor
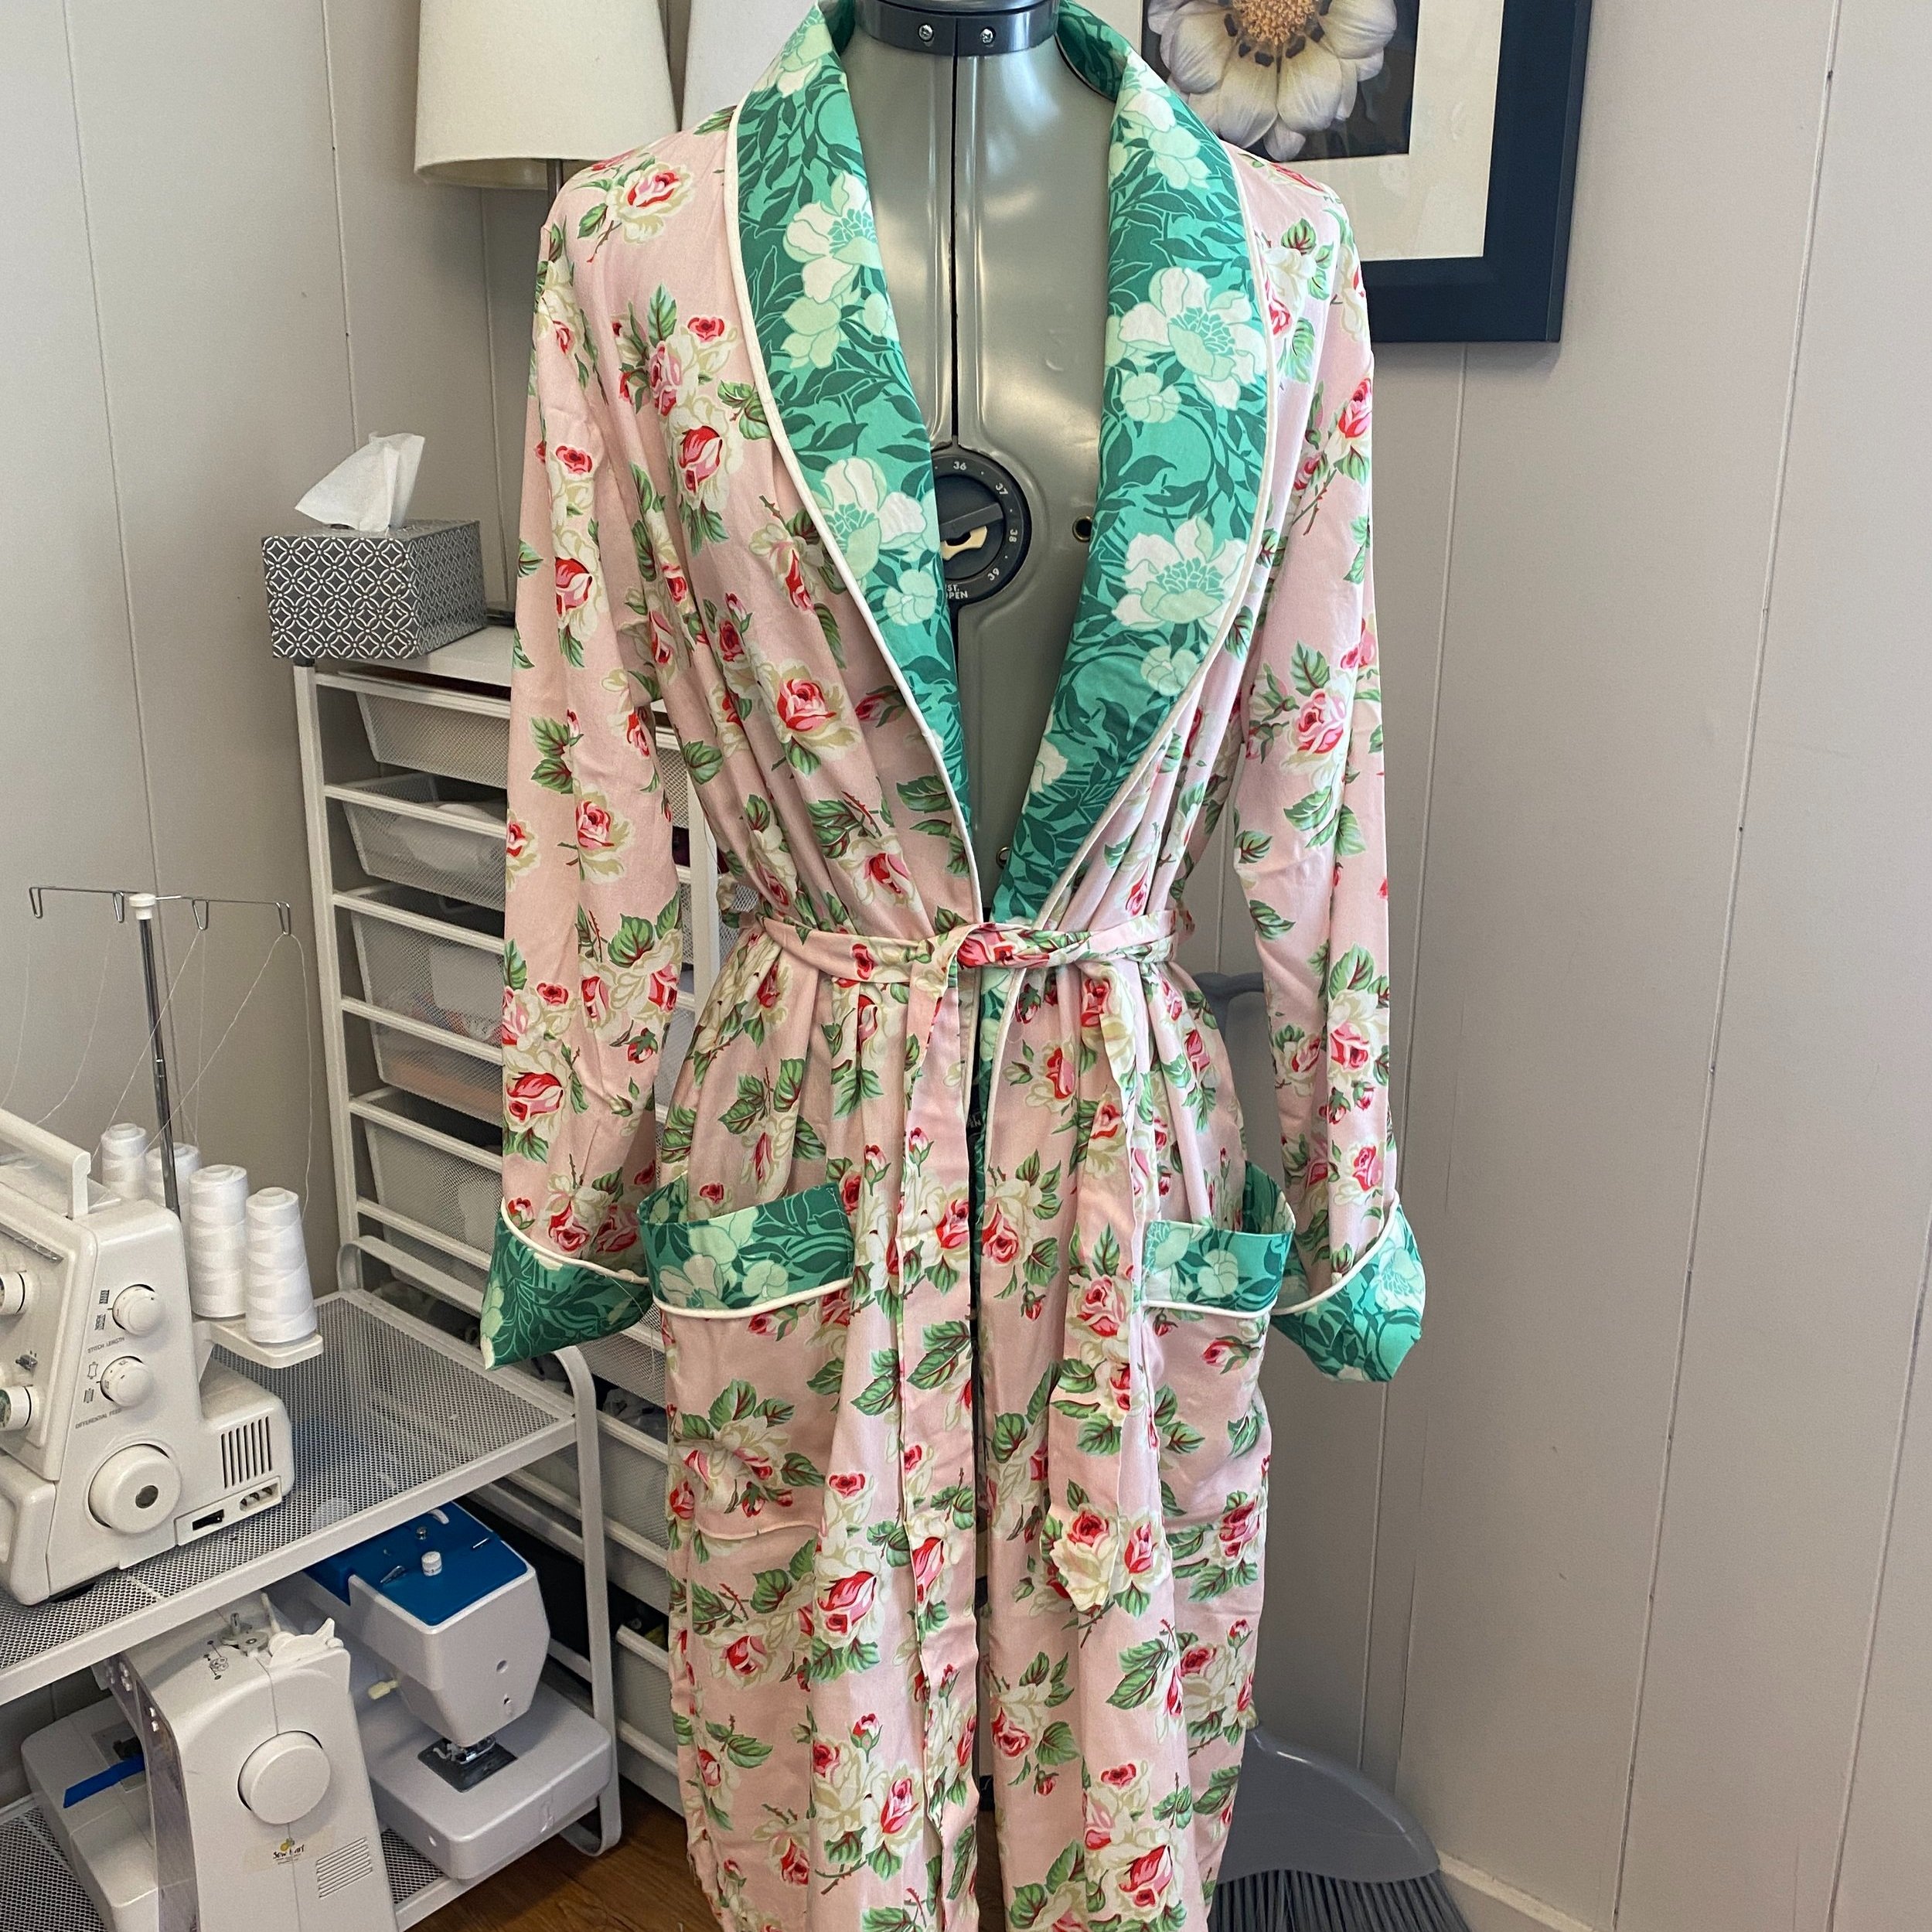
Favorite Dress Patterns

The votes are in…
by Martha West
Gail and I were talking about our slowly blossoming longing for dresses. It has been a long, cold winter wearing mostly cozy joggers. But, that’s getting old. We both feel that many of you will also be longing for a new dress for the warmer weather and we’ve heard from some of you that you’d like recommendations for dresses that are a bit shapely but still comfortable as we move into the usual blazing hot summers of central Ohio.
So, we did a survey and this post is a listing of the top dress patterns on your wish lists (and ours)…
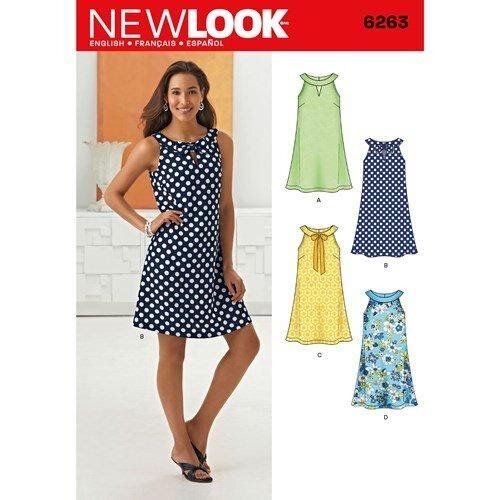
First, Gail’s top pick is a Vogue pattern that’s out of print. She’s made several in different fabrics and says it’s also a great dress for layering in winter. I found a very similar pattern: New Look 6263 and it’s on my wish list now too!
Many of you voted for wrap dresses and there are MANY good patterns: I’ve made the Vogue 8896 and I like it, the Appleton by Cashmerette is a great dress in the larger size range, the Closet Core Elodie got many votes but the big winner was the Wildwood Wrap Dress by Sew House 7. It comes in a wide size range and it looks great in solids or prints!
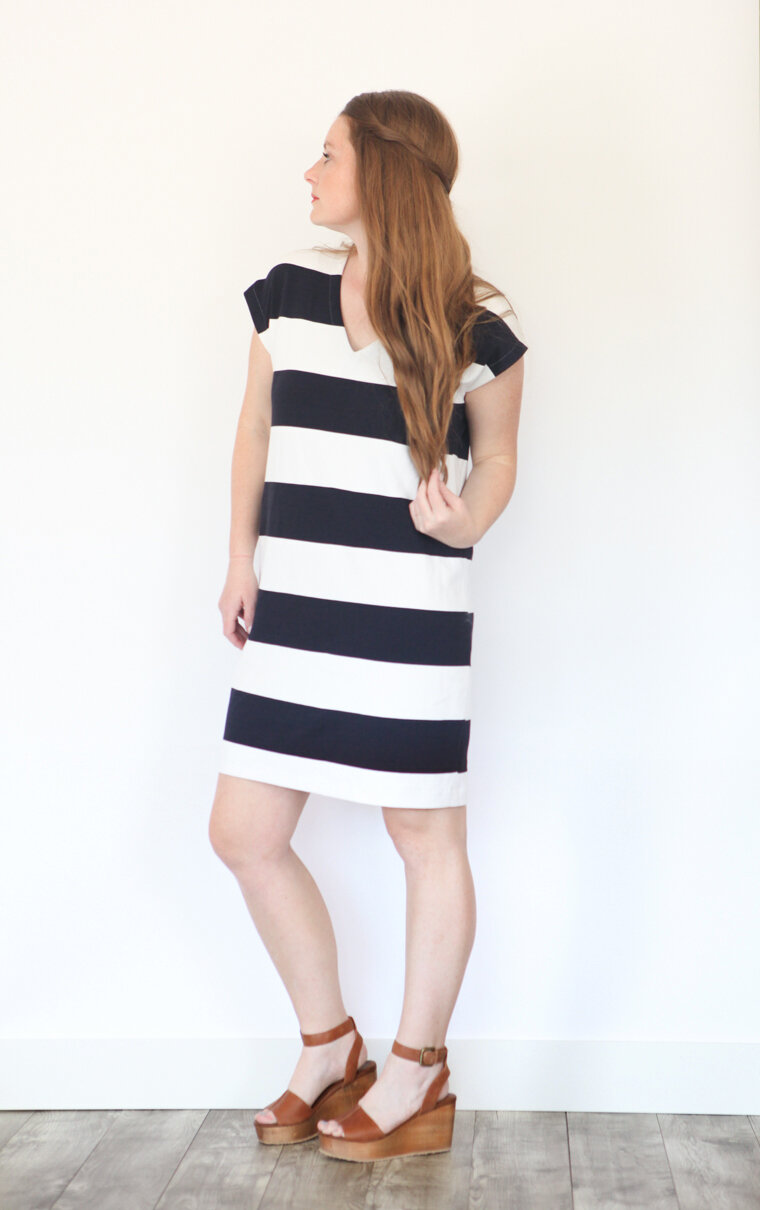
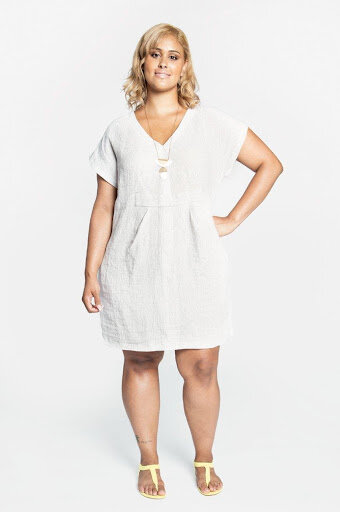
My go to dress in summer is a self drafted design but it is very similar to the Lottie Dress by Christine Haynes, shown in the top image. I’ve made mine in jersey knits, double gauze and a light-ish cotton poplin. I love that it is somewhat fitted looking but not at all binding for the hot days of summer.
I’m making the Lodo Dress by True Bias, which is a surprise because the picture of the dress on the pattern envelope is really unappealing to me. But I looked at the many, many pictures posted online of this dress and EVERYONE looks good in it. That sold me on it!
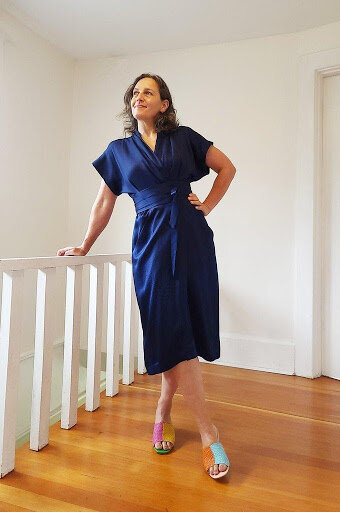
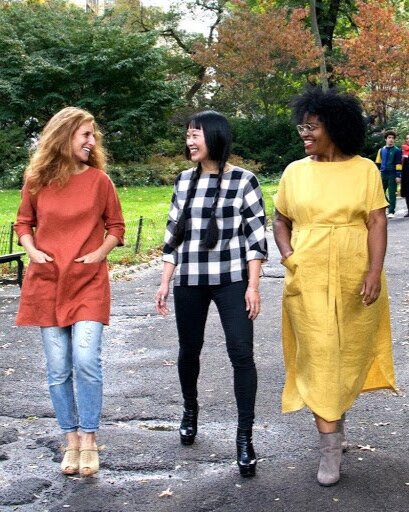
The Charlie Caftan by Closet Core patterns was a big vote getter. It’s an interesting pattern due to the many options which make very different looking dresses. Our favorite is the one pictured here but the other options are also great summer dresses!
Please let us know what your favorites are! We’re always here to help if you feel the urge to try one of these or any other dress patterns that you’re longing for.
Martha West
The Sewing Hive
Fixing My Shirt - And Understanding Why It Needed Fixed
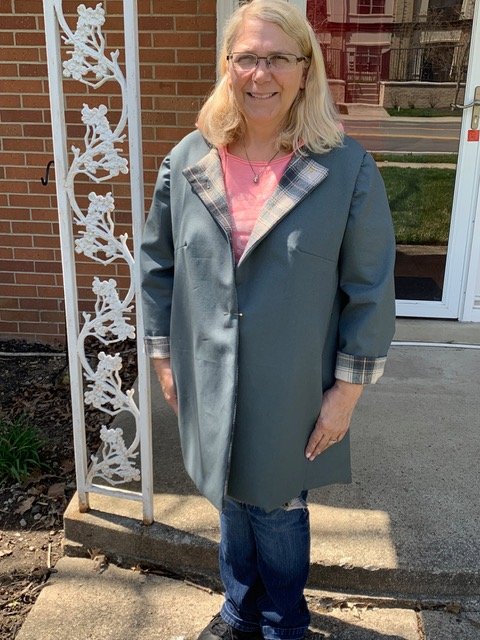
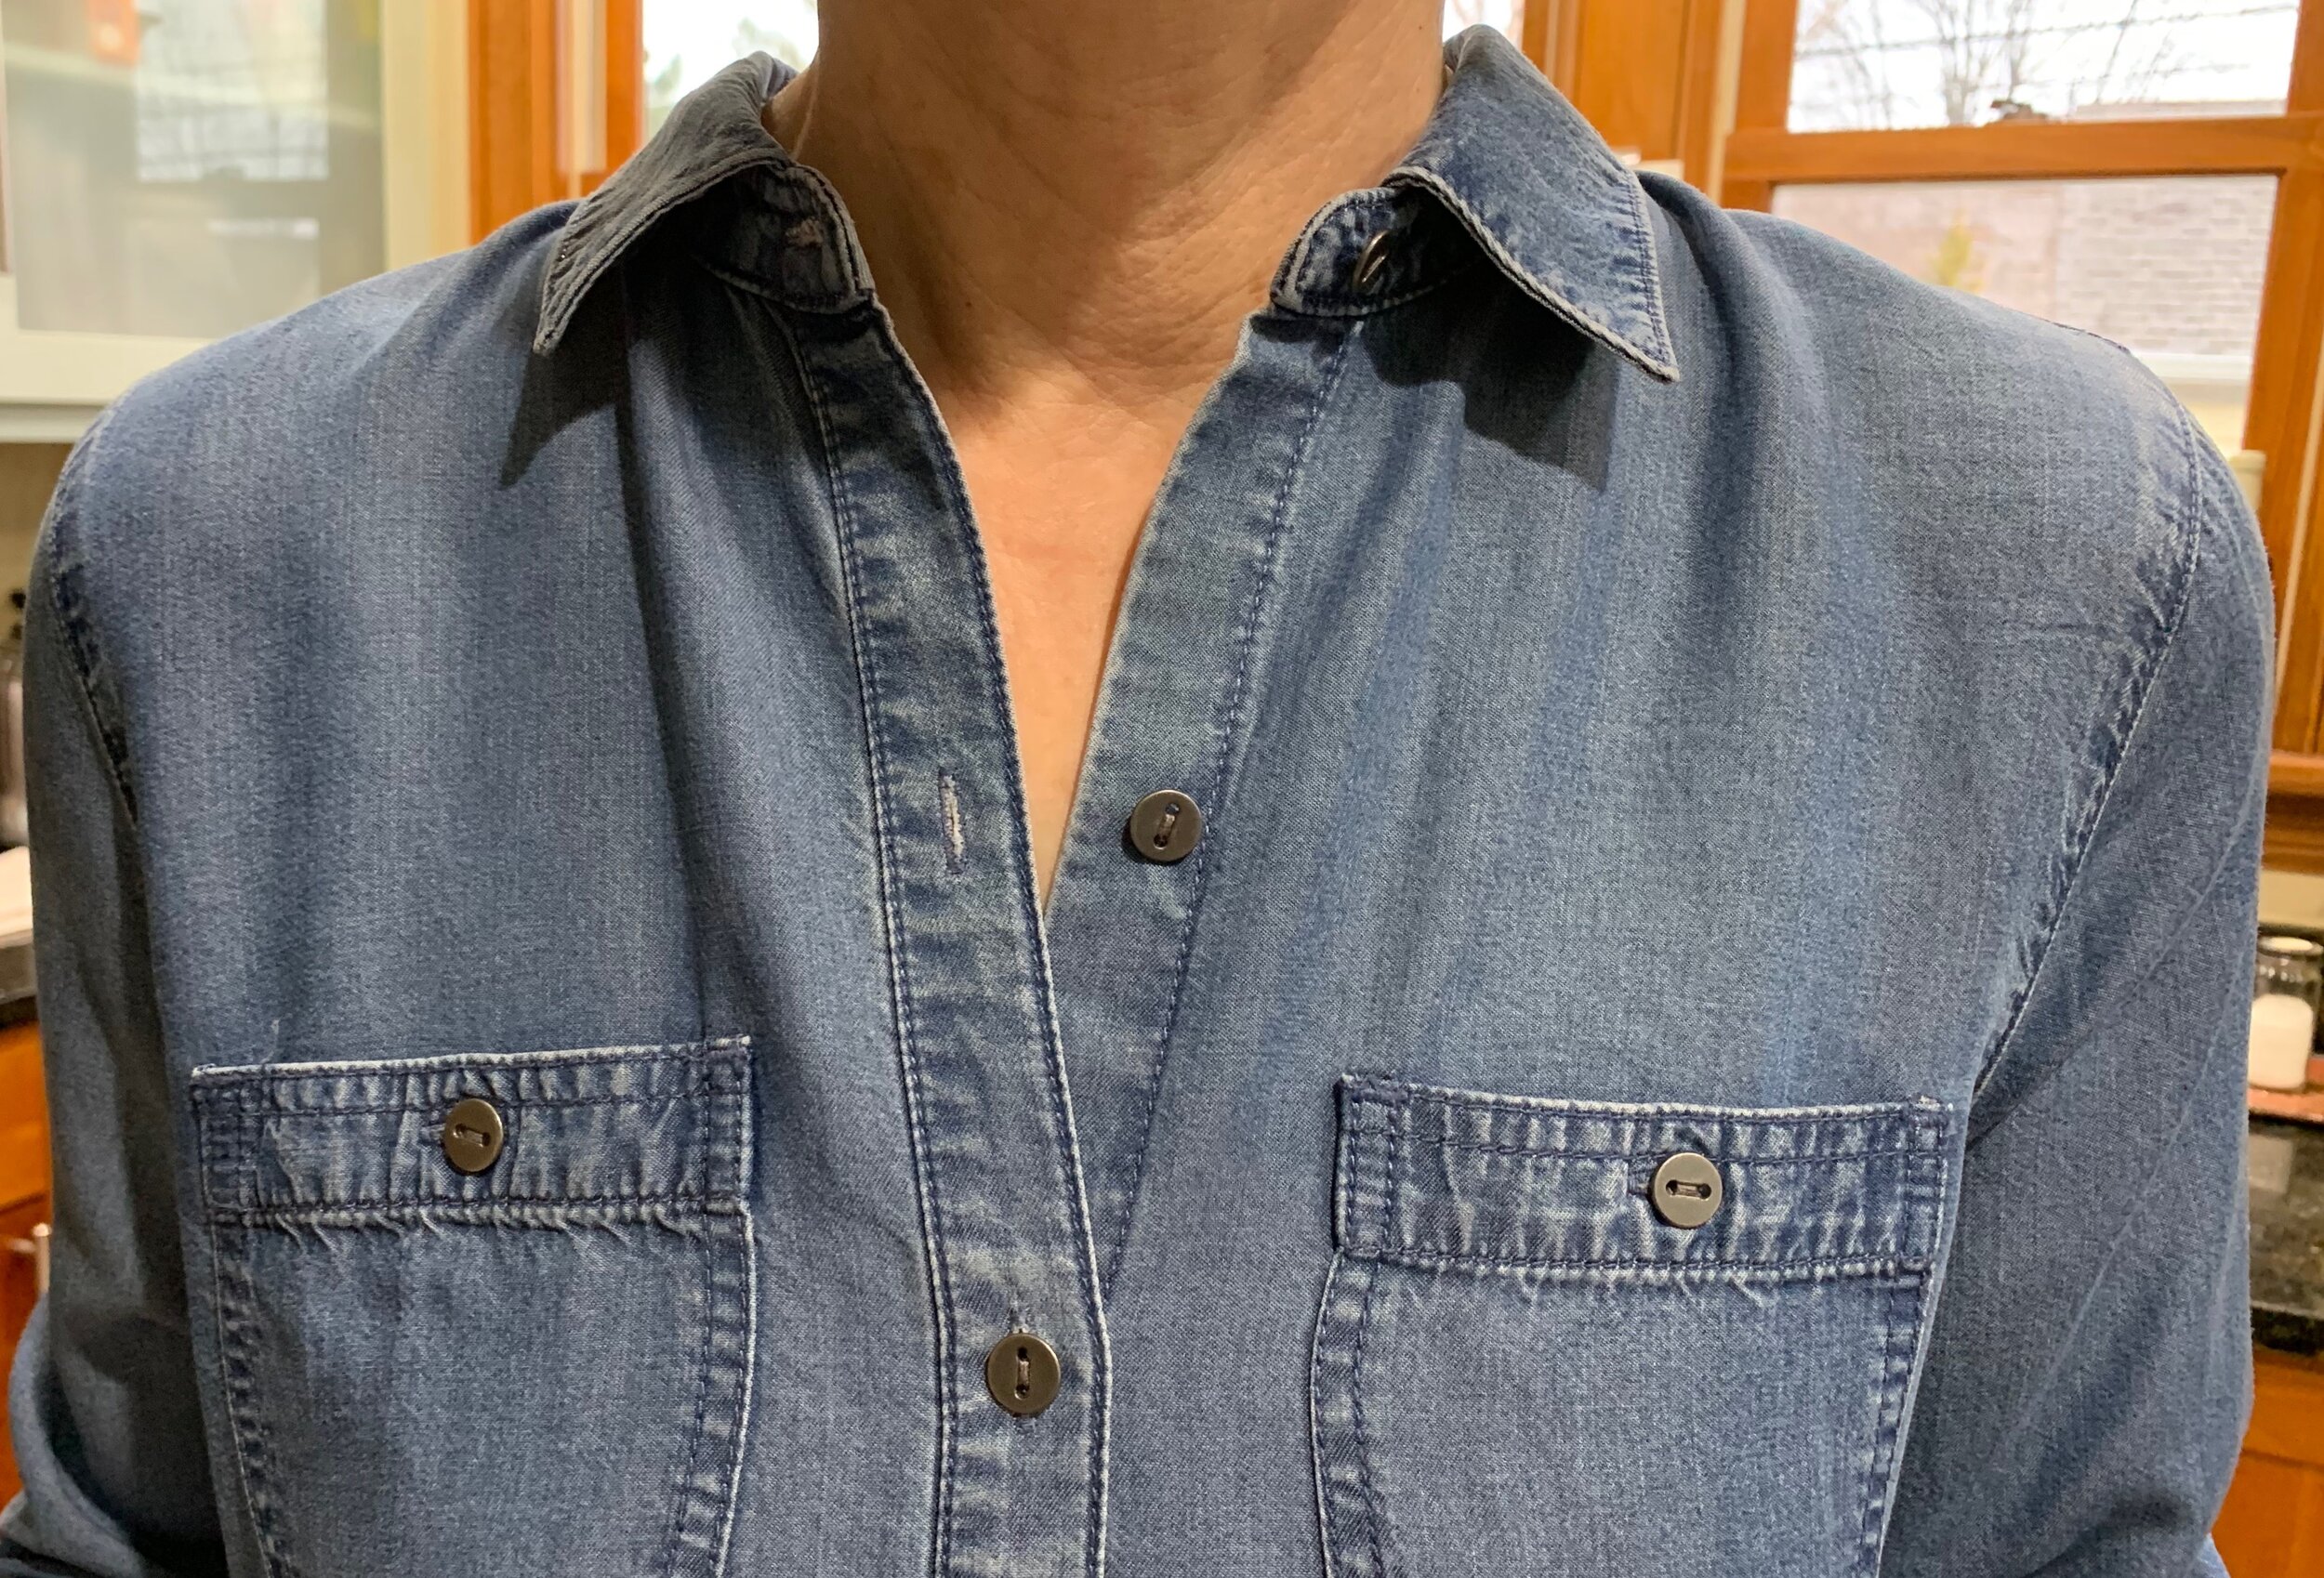
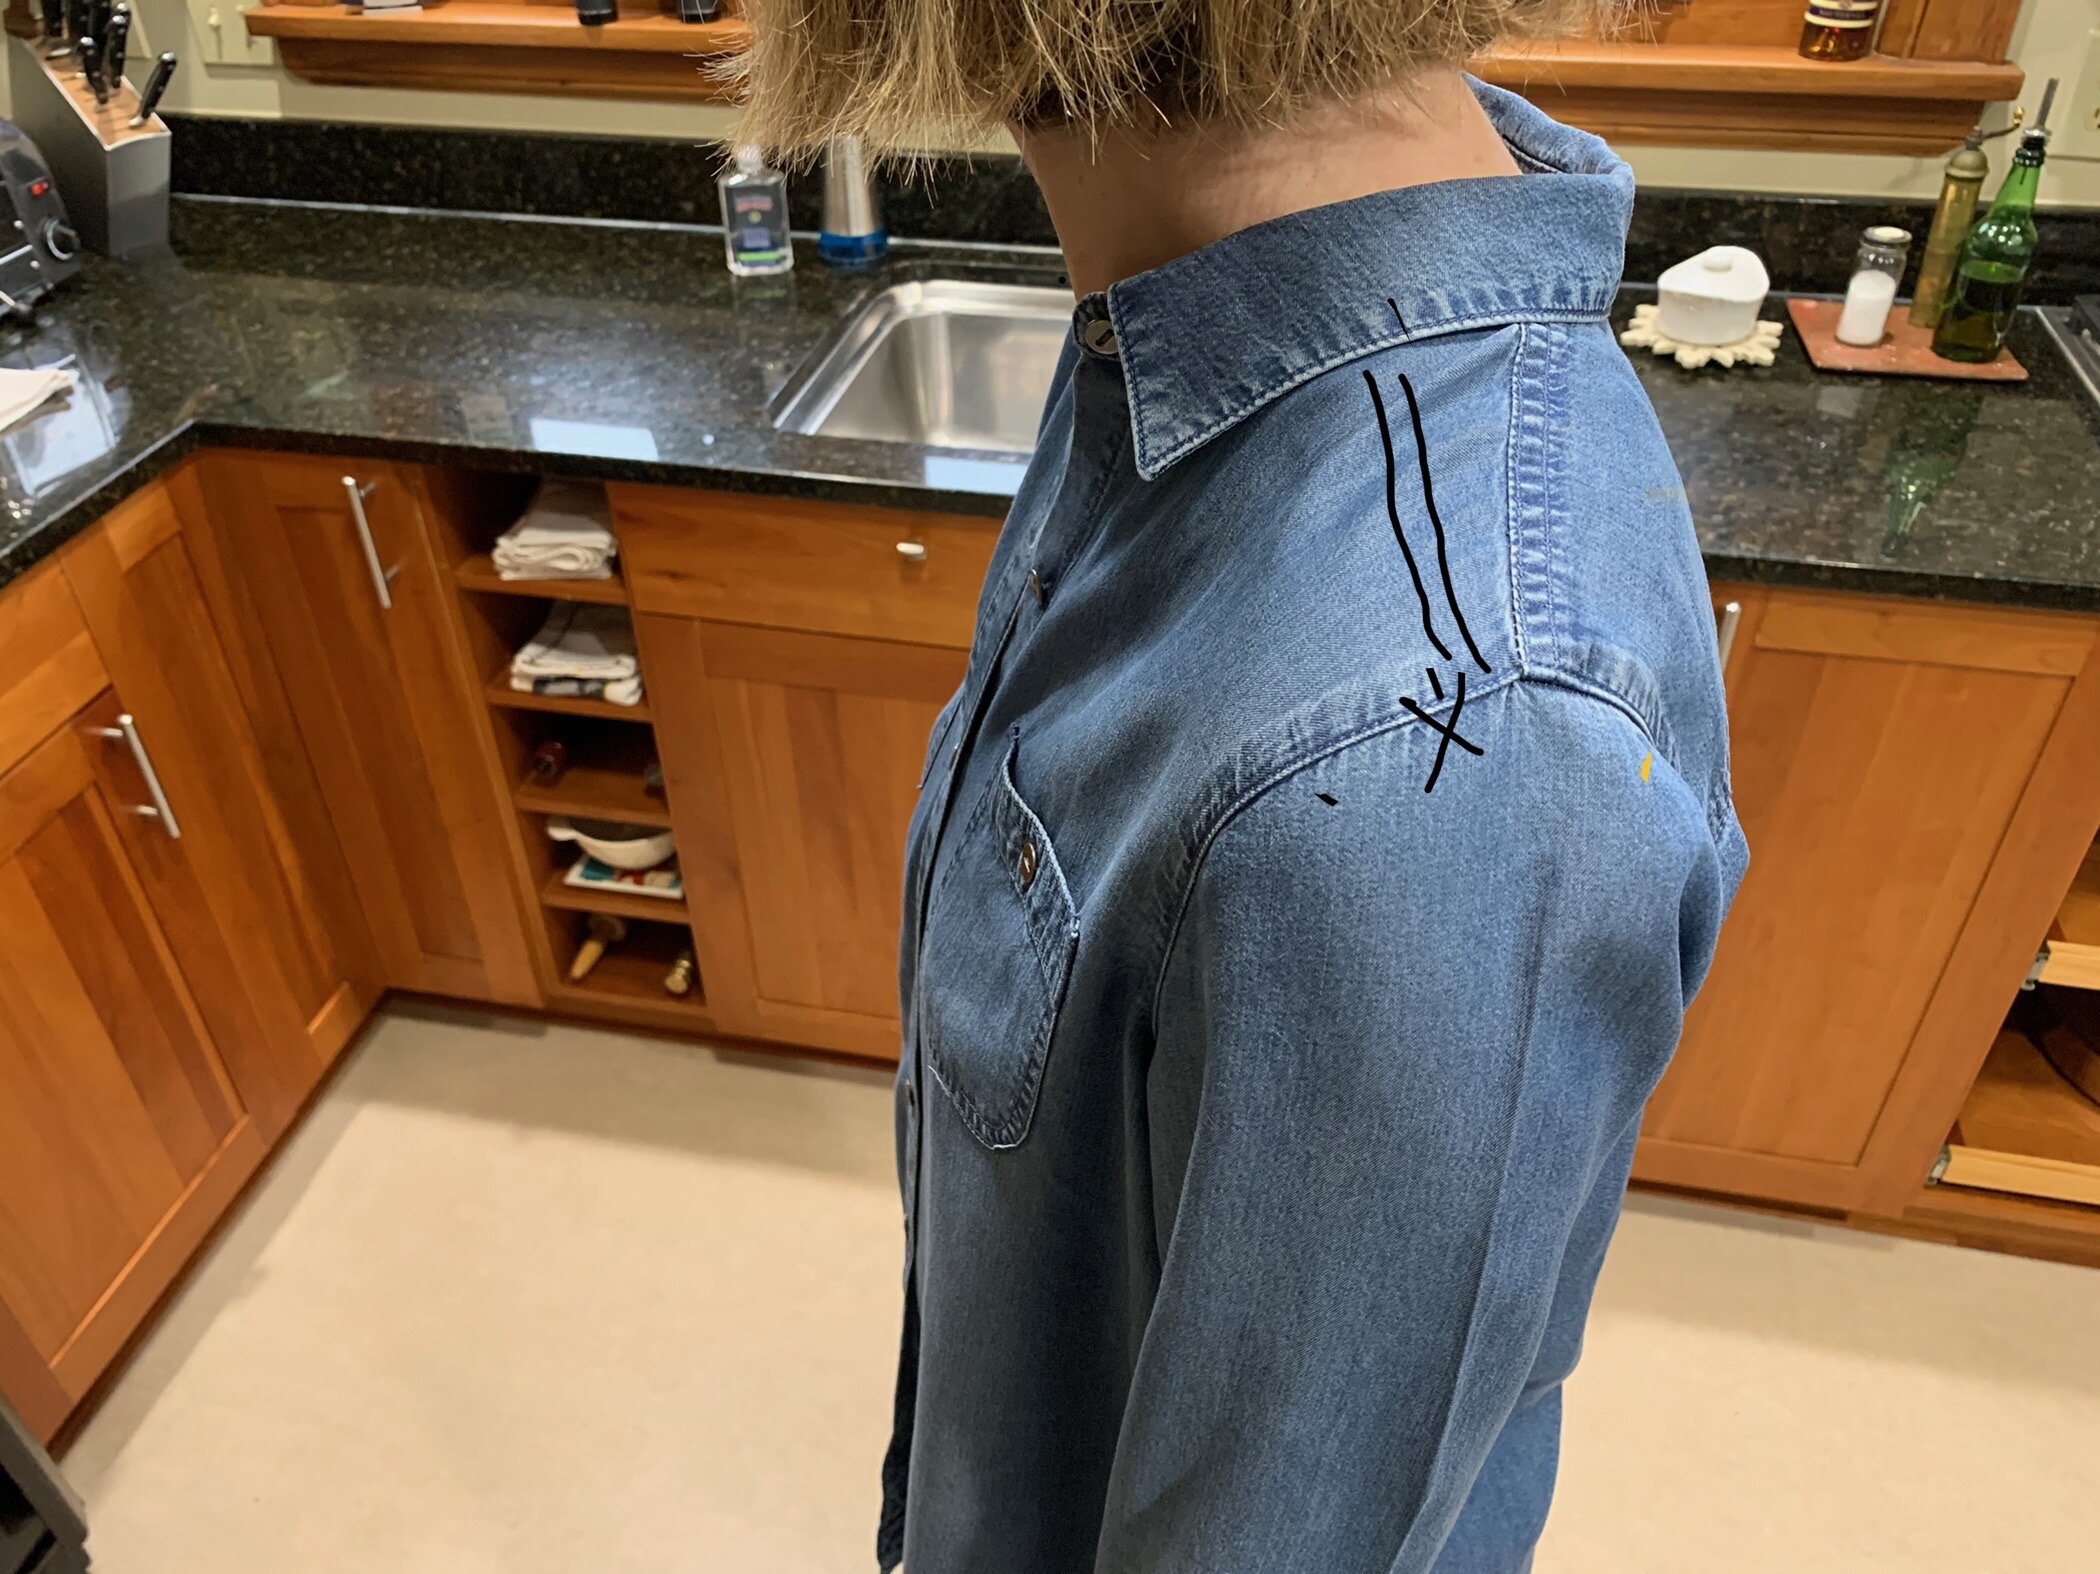
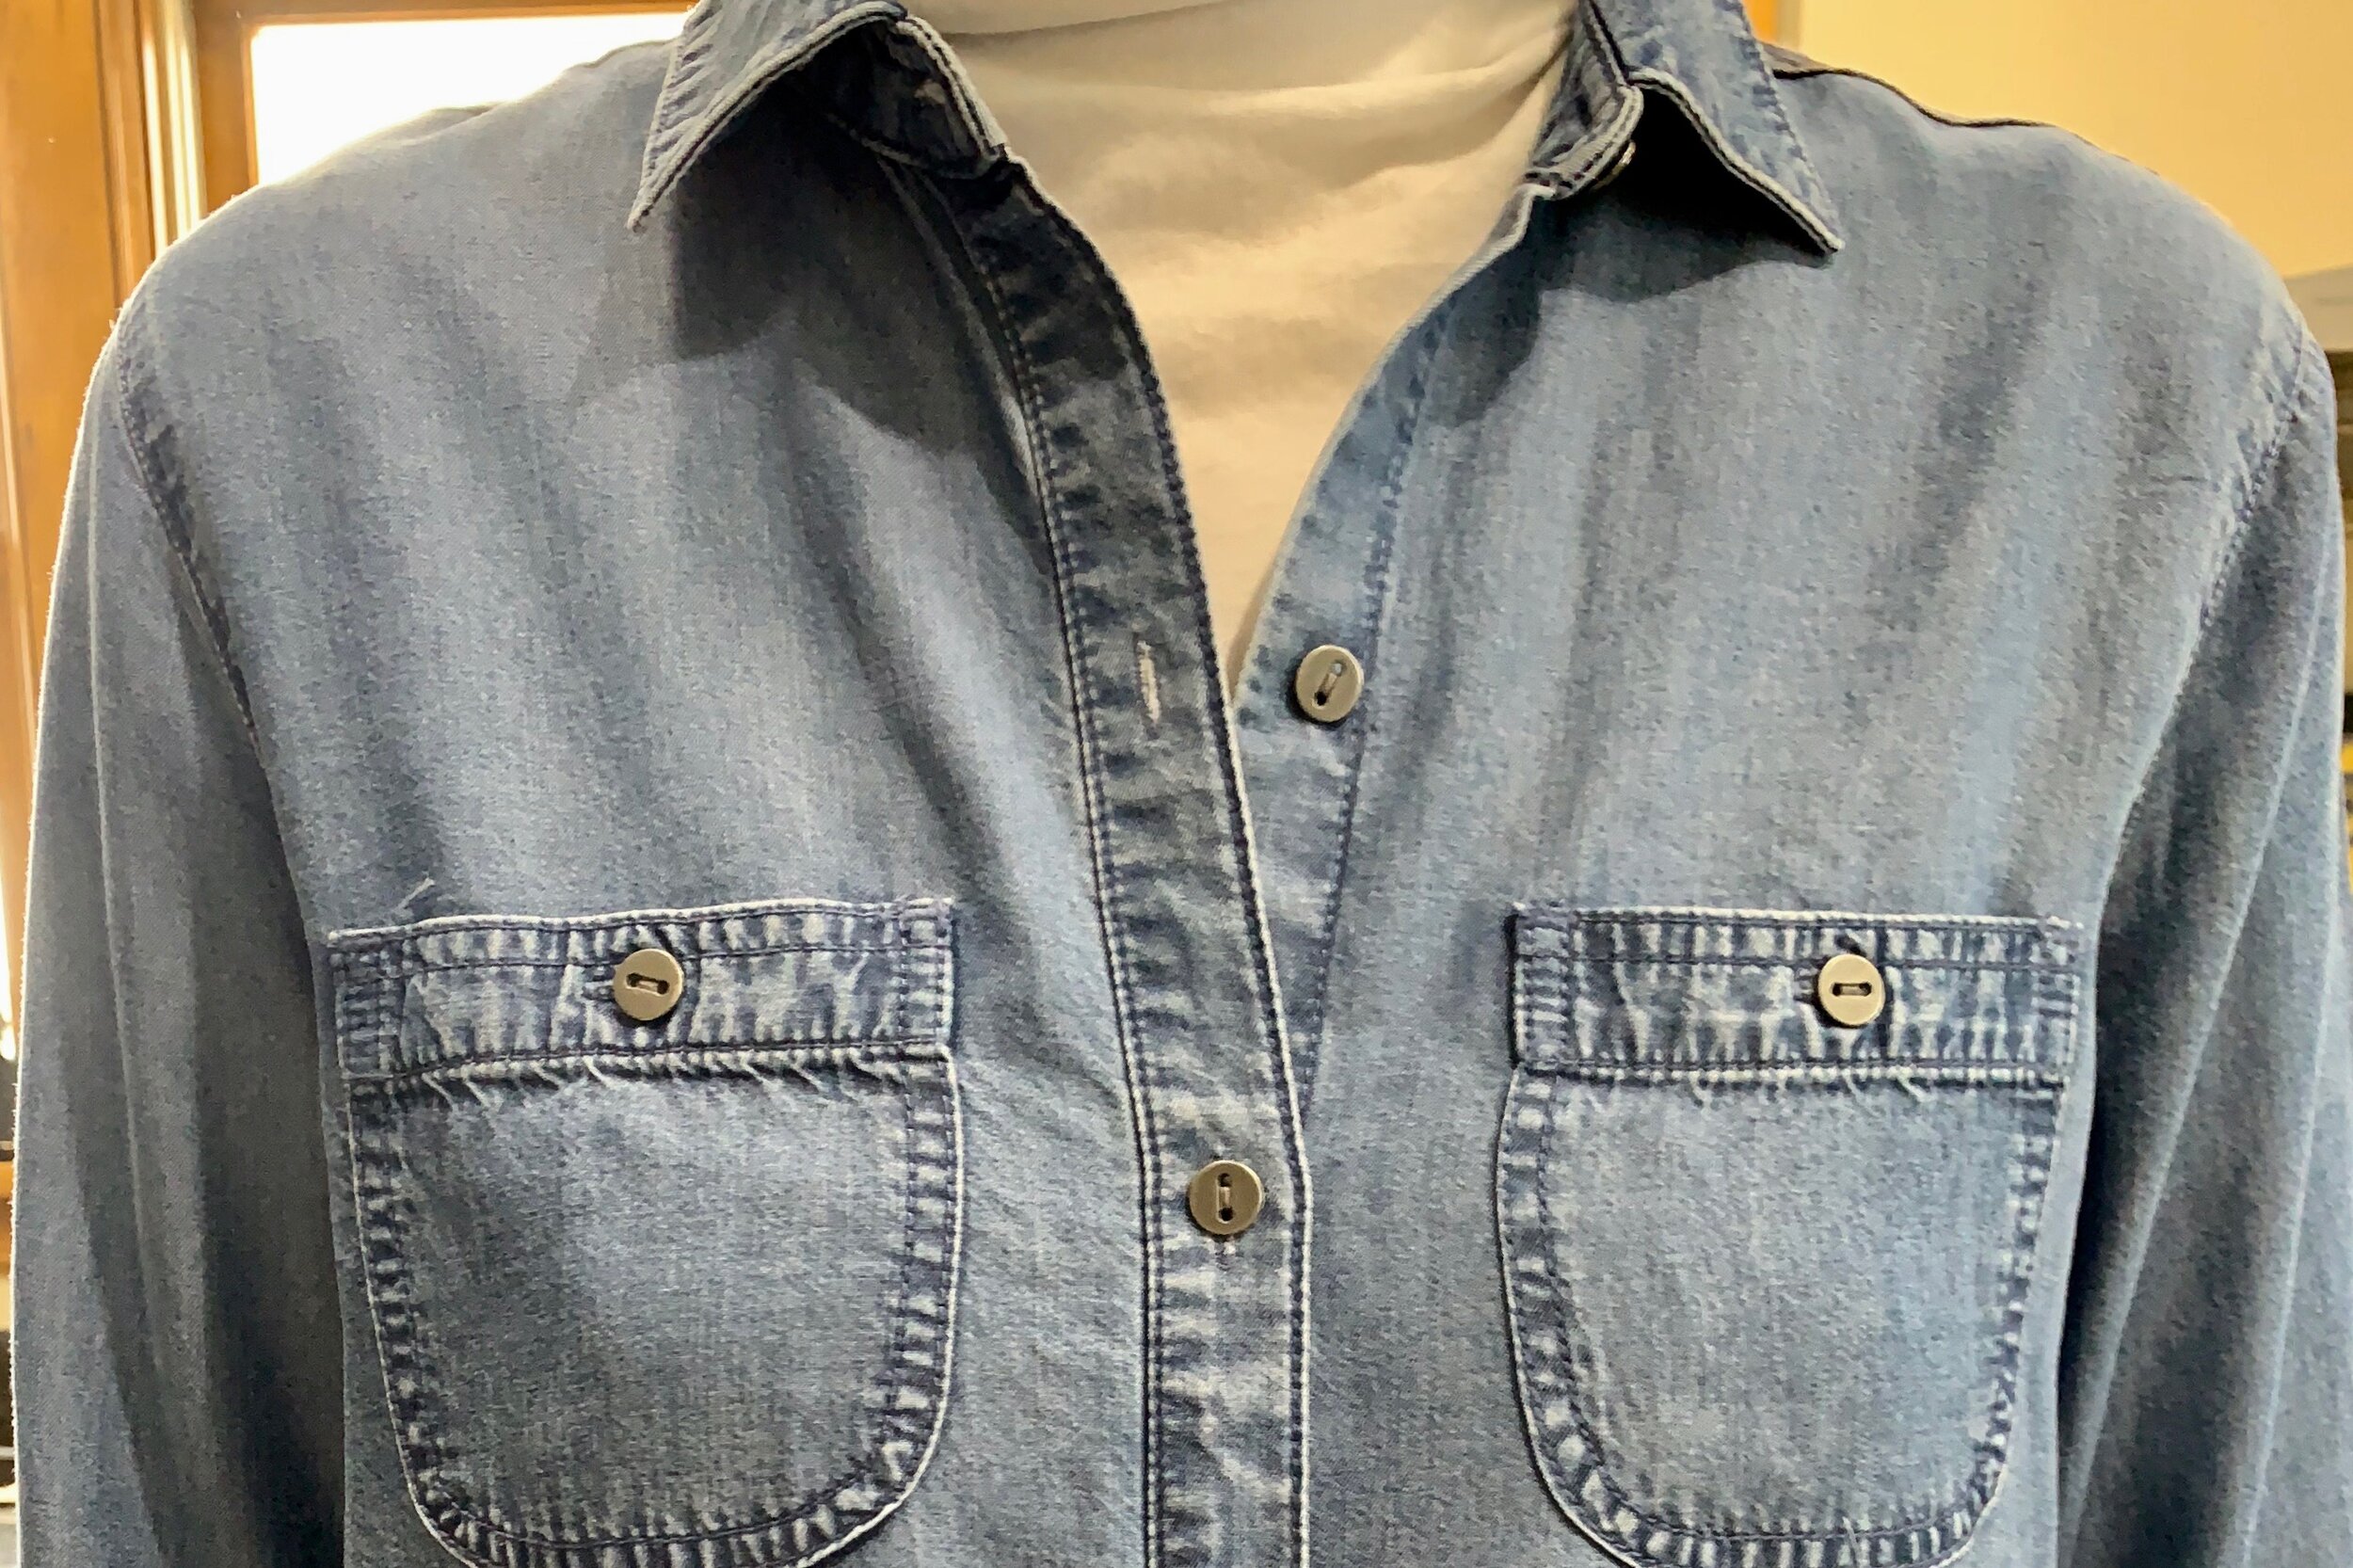
To get through this awful weather, let alone all the other stuff, I am going through my closet and either figuring out how to fix items I never seem to enjoy wearing, or donating them. I have had a J.Jill denim looking shirt for some time. Every time I wore it, it pulled at the front neck line and I spent too much time yanking down the front collar. I knew that what was the problem: as I have aged, my shoulders have rounded and I needed more room in the back of the shirt from the back neckline to the yoke……luckily it had a yoke.
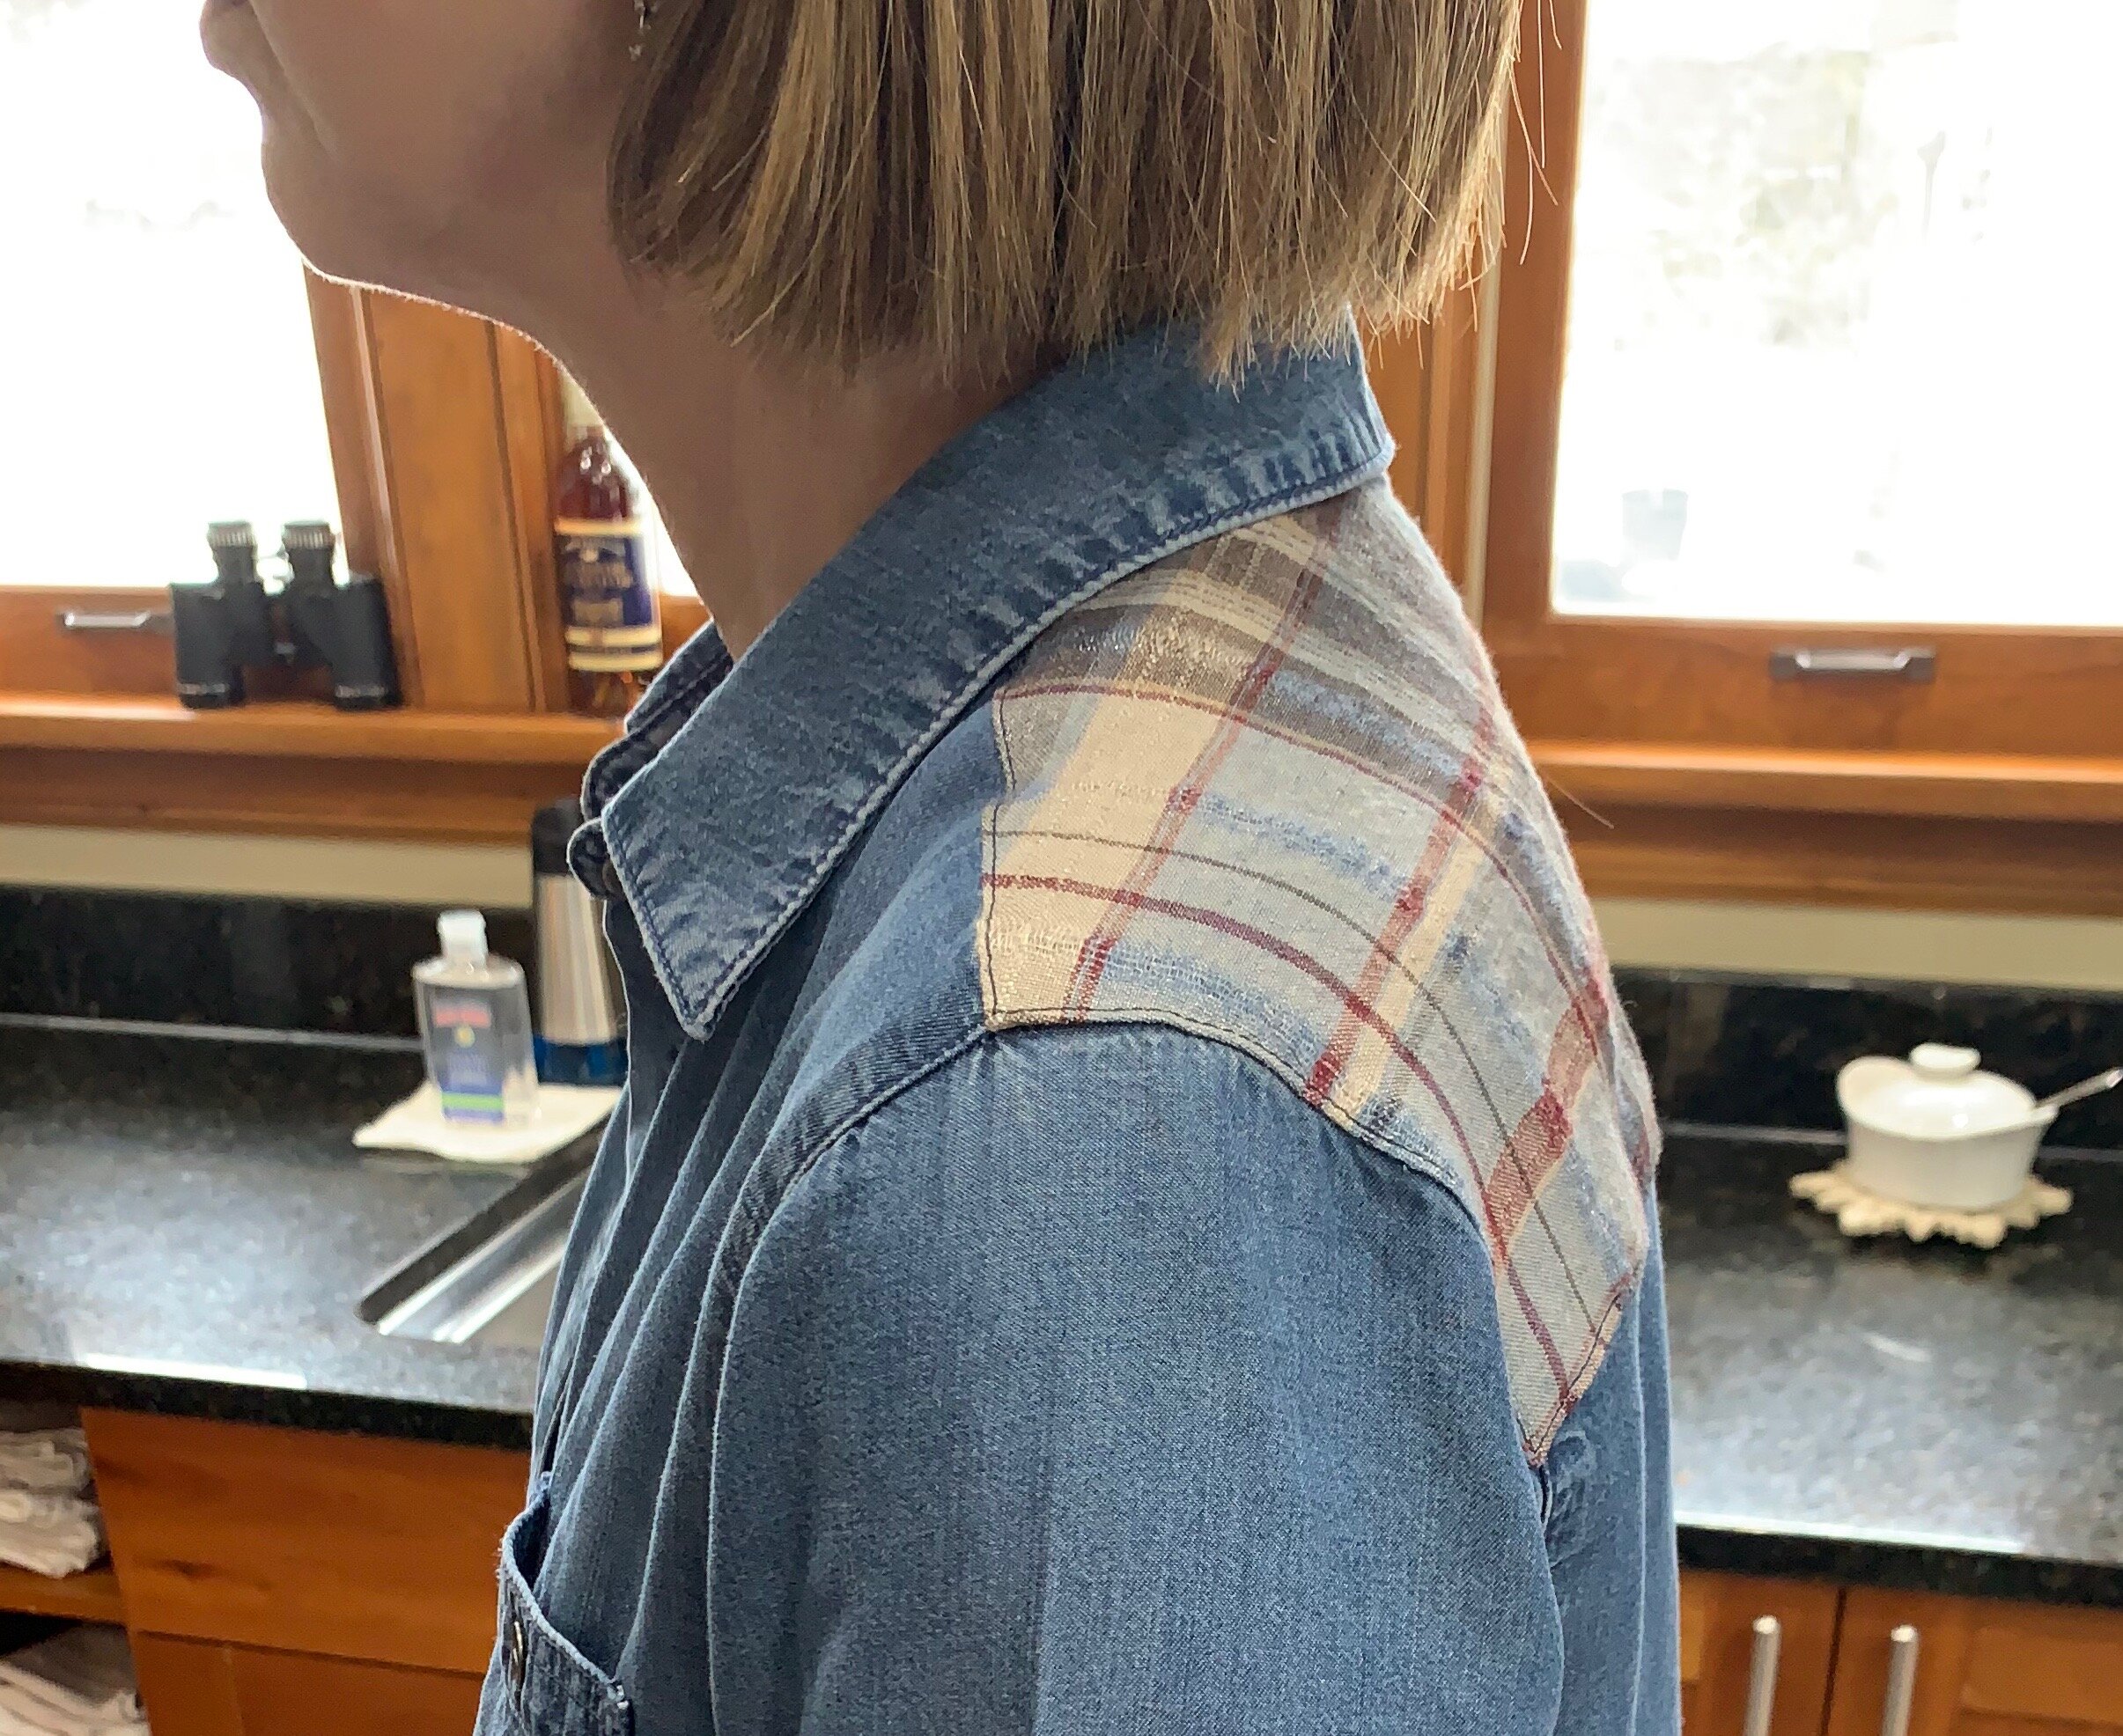
The 3 photos below give you the story. #1 look at the drag lines around the neck. #2 look how far back the shoulder seam is compared to where I have marked in photo #3.
First, I looked through my fabric stash and found a plaid metallic linen that would work since I could not reuse the existing yoke.

I removed the yoke, leaving the collar, front, parts of the sleeve, and back open for a new yoke piece. I made a simple paper pattern of the old yoke. Then I made a slash across the back of the paper from the fold line to the seam line where the sleeve would be sewn onto. I opened this slash up about 1”, taped it down to another piece of paper, straightened the fold line, and finally added additional length to the neckline so the new yoke piece would sit farther forward on my shoulders.
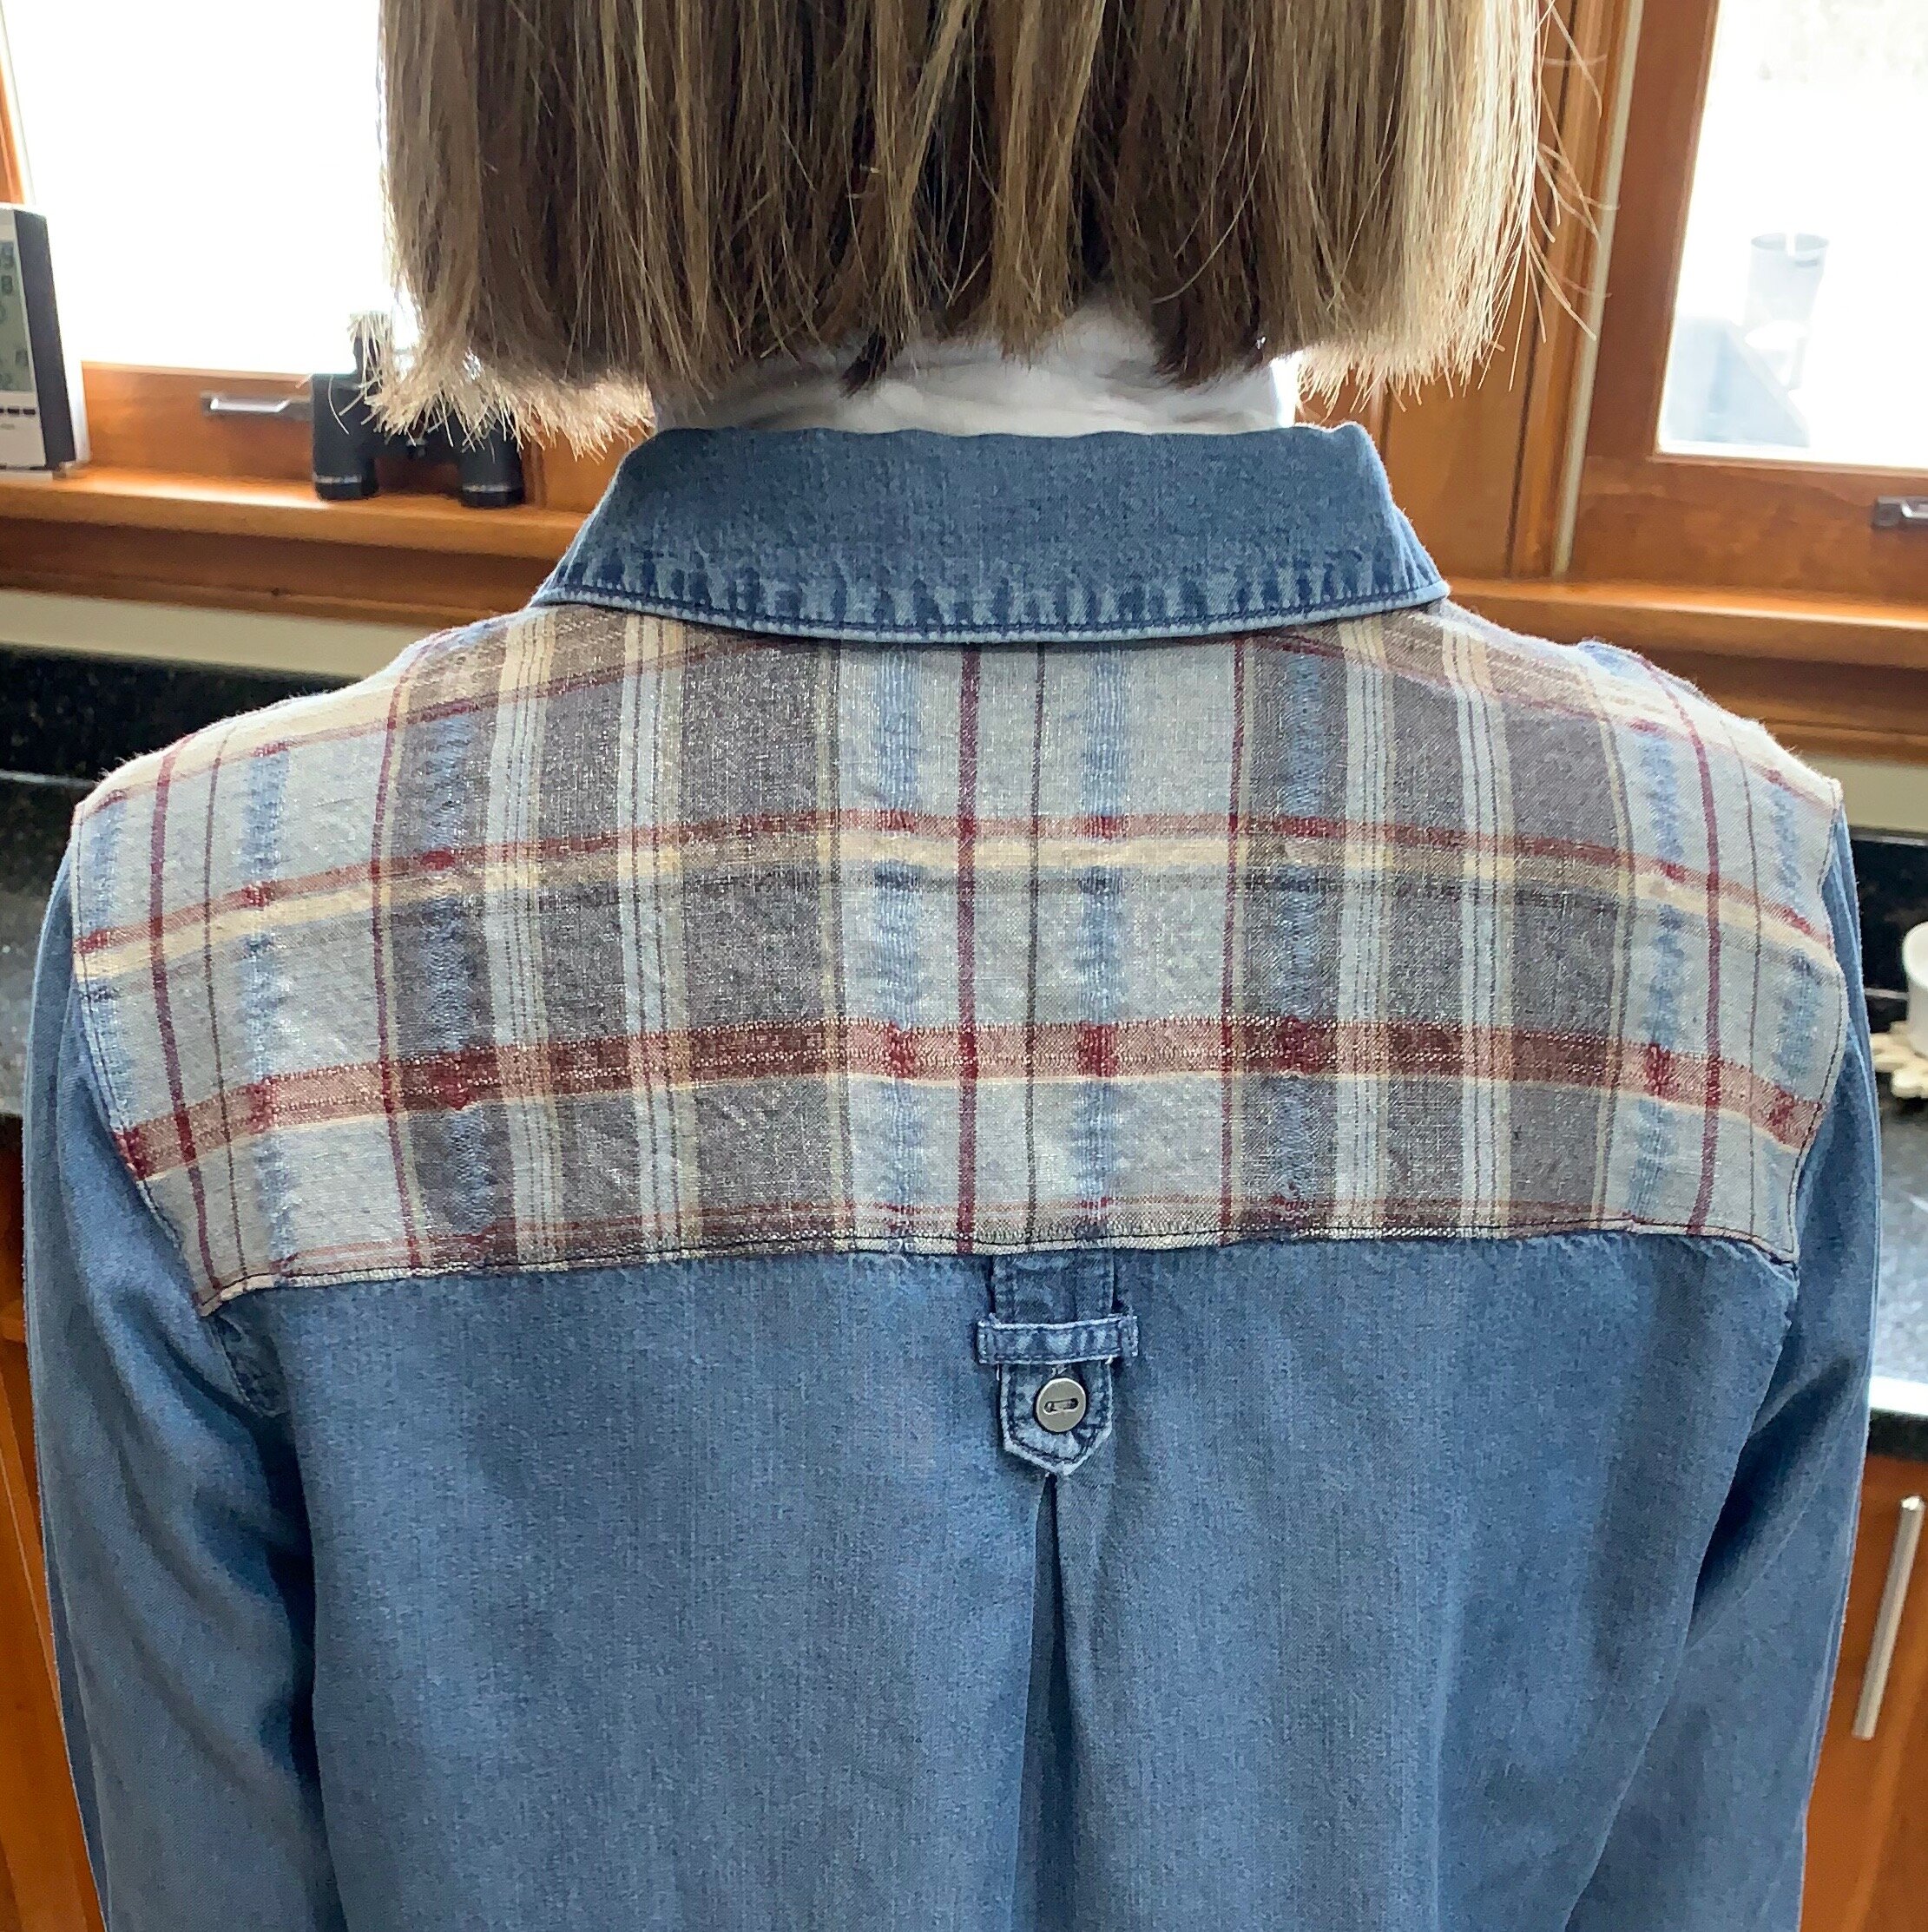
Here is the finished product. The drag lines are almost gone around my neck, the shirt collar is sitting on me more comfortably, and I like the look of the new yoke. Not really difficult, just took some time, but most likely less time then trying to find something else in a store. If you are having similar issues, email us and we will work with you to see what can be done to fixing your favorite garments. Happy Sewing.